Free Workbench Plans
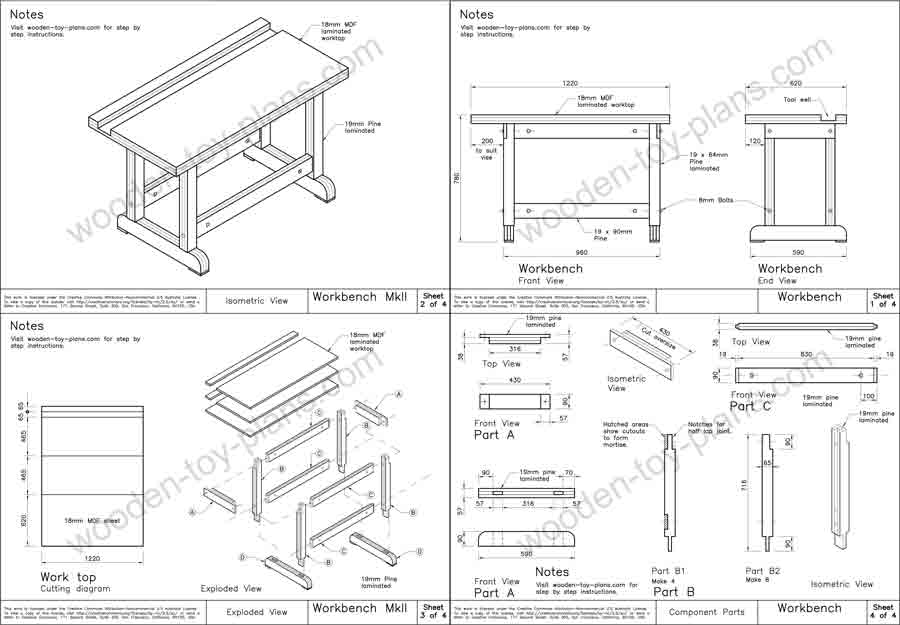
These are the free workbench plans for a work table that I designed and built for my woodworking hobby. I was looking for a heavy duty workbench that I could build with the basic hand tools that I have.
Features
I had the idea of using laminated timber to minimise the cutting of mortises and tenons.
To do this, I used 3 pieces of 19mm by 65mm project timber, leaving gaps for the mortise, and the middle piece to form the tenon.
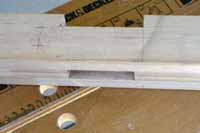 Mortise Joint
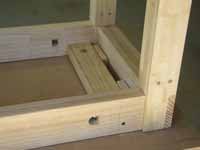
The photo shows how the mortise is formed in the leg of the frame.
Laminate three pieces, with a gap in the middle piece to form the mortise.
Cutting a tenon is a lot easier, so for the stretchers, I used two pieces laminated to form a single piece 38mm thick by 90mm wide.
How to fix the bolts
Next was the issue of the reinforcing bolts. Not having a proper drill press, I knew it would be next to impossible to drill a hole longitudinally with any degree of accuracy. Here again the idea of lamination came to the rescue. Instead of drilling a long hole, why not cut a groove on the inside face of each laminate, as shown in the photo below.
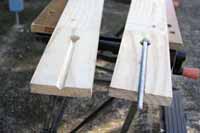
Photo showing the groove cut into the facing sides of the laminate, with the threaded rod with nut and washer resting on one side.
In this example, I cut the groove with a v - shape bit mounted in a router, cut to half the depth to fit the 9.5mm threaded rod.
For the top, I was planning on using a single sheet of MDF, and laminate that as well. Basically, cut the sheet into three pieces and laminate them with contact adhesive.
As things worked out, the need for cutting mortise and tenon joints was not completely eliminated, but minimised. It turned out to be a pretty good compromise - a relatively cheap easy to make workbench that does not rack at all and as the joints are not glued, it can be taken apart as well, but as to why anyone would want to do that escapes me. Oh, hang on, maybe for transporting, after all it is rather heavy.
Fixing The Top
 Attach the worktop
To fix the worktop to the frame, I simply attached a two by four block of wood to the underside, and a woodscrew through the frame.
The photo shows a pair of spacer blocks to complete the ensemble.
Materials
This is a list of materials that I used for making my workbench. 1 sheet of 16 or 18mm thick MDF 1.2m x 1.8m (8 ft x 4 ft) 19 x 90mm Pine 12.0m long 19 x 90mm Pine 8.5m long 19 x 65mm Pine 9.0m long 9.5mm threaded rod four lengths 750mm long 8 x 10mm nuts, 8 wingnuts and 16 washers 8mm dowel 2.7m long in total
Tools
This is a list of tools that I used to make this workbench:
- Power drill corded or battery powered.
- Tenon saw, also known as a back saw.
- Combination square.
- 19mm & 10mm woodworking chisels
- Woodworking Router
- Router bits - straight cut and v-cut
- Finishing plane
- Clamps - I can never have enough
- 20mm spade bit
- Dowel locators
Download Free workbench plans
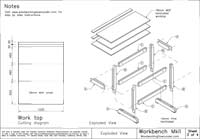 Free Workbench Plans
Free workbench plans includes step by step instructions with photos. Compact and sturdy, ideal beginner project.
Ask me anything, share your project
Here you can ask me anything, share up to 4 photos of your projects.
How to turn your hobby into a profitable business.
Solo Build It! (SBI!) is an online platform that empowers solopreneurs to build profitable online businesses. For over two decades, SBI! has been trusted by members to turn their passions, hobbies, or skills into successful ventures. Recently, the introduction of ChatGPT has ushered in a new era of AI-assisted content creation within SBI!.
Allow me to introduce you to Tai, your business-building AI assistant. Tai is now available in SBI! and can help you navigate the world of online entrepreneurship. Whether you’re a complete beginner or an experienced solopreneur, SBI! provides everything you need to create an income-generating website or blog.
Here are some reasons why starting an online business with SBI! and Tai is a great choice:
- Adaptable Lifestyle: Building an online business adapts to your desired lifestyle. Enjoy newfound freedom without being tied down to another job.
- Low Startup Costs: You don’t need significant capital to begin. All you require is a computer, internet access, a roadmap, and an affordable platform like SBI!.
- Flexibility: Work as much or as little as you want, wherever you choose. Once you’ve built a solid foundation, you can earn money even on days you don’t actively work.
- Portability: Take your business with you, especially if travel is part of your retirement dream.
- Global Impact: Help people worldwide by sharing your knowledge and expertise.
- Continuous Learning: Running an online business keeps your mind active and energized.
SBI! combines education, tools, and a proven process to give you the highest chance of achieving your financial goals. Whether you’re aiming for financial independence or simply want a rewarding project during retirement, SBI! can guide you.
If any of this resonates with you, I invite you to explore SBI! and discover how it can help you build your online retirement business. Even if you’re a beginner, SBI! provides the resources you need to succeed. Say hello to Tai and embark on your entrepreneurial journey! 🚀
Learn more and try Tai for free on the Solo Build It! website.
