Wooden Toy Trains
Making wooden toy trains is something I have always wanted to do.
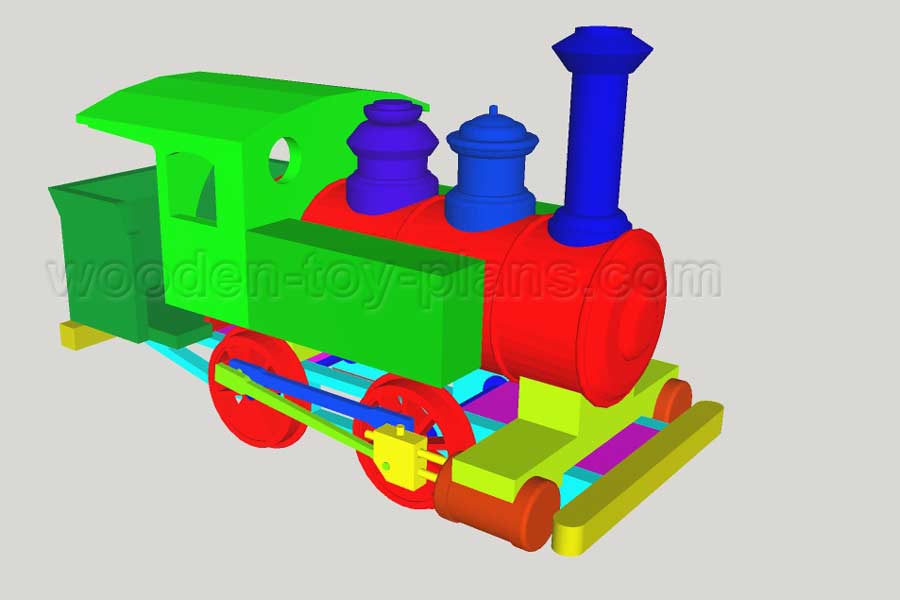
This project is intended to be a display model even though it is simple enough to be made by an ambitious beginner.
In the UK and other parts of the world it is also known as a shunting locomotive, a compact workhorse used in a shunting yard to move both trains and carriages (or railway cars) in a marshalling yard.
When I first saw this plan, I was amazed at the level of detail, and knowing the level of skill amongst model makers out there, I thought the toy was to be made entirely out of wood.
However, upon a random perusal of the text, I learned that the boiler was made from a cardboard tube. I was somewhat taken aback by this idea, far from being a purist, I thought it would be easy enough to turn a cylinder on a lathe.
Reading further, the toy is painted in black enamel paint with aluminium and bronze paint for steel and brass with pipes of wire.
The information to make wooden toy trains includes drawings showing full size templates and a sketchup file, which includes a 3D animation sequence showing the construction.
Construction Notes
These construction notes are based on the original wooden toy train plans.
Each wheel is made by centering the stock on a piece of wood that is fastened onto the lathe faceplate, then turning the edge to form a flange. Axle and crankpin holes are bored and the spoke are cut out with a scroll saw
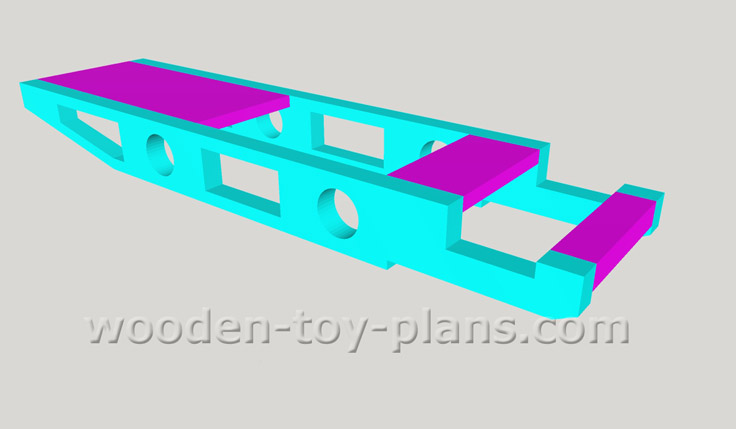
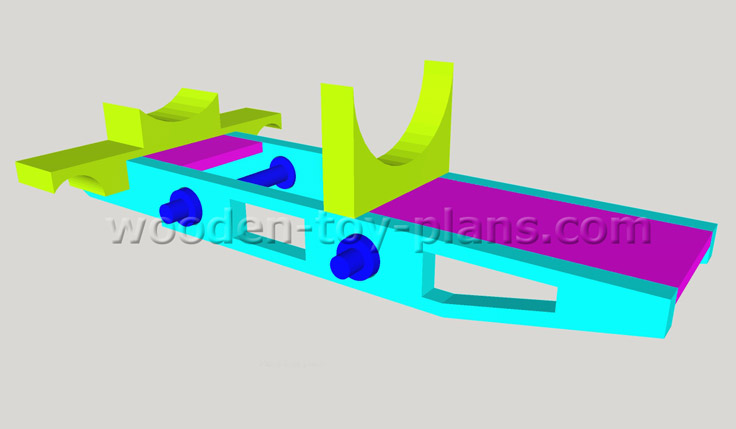
Using 5/8" dowel stock, turn the axles on the lathe. Slide them into the frame bearing holes, insert a 1/8" by 5/8" by 1-3/4" spacer between each axle and the adjacent cross brace, and nail the spacers to the cross braces. Complete this assembly by gluing the wheels to the axles.
Make the main and side rods from 1/8" stock. Mount the side rods on the 1/8" crank pins. Secure them to the forward pins with tacked on celluloid disks. Put the dowels spacers, as shown, on the rear pins, add the main rods, and tack on two more celluloid disks. For the moment, leave the forward ends of the main rods alone.
Cut the saddle, boiler foundation, cylinders and steam chests to the right size, assemble them, and fasten them to the frame. Each cylinder has two holes. The upper one, 1/8" diameter, has a guide rod glued into it.
The lower one, 5/32" in diameter, provides a sliding fit for the piston rod. Both cross heads have the piston rods glued into them and slide on the guides. Attach the forward ends of the main rods to them with 1/8" dowels.
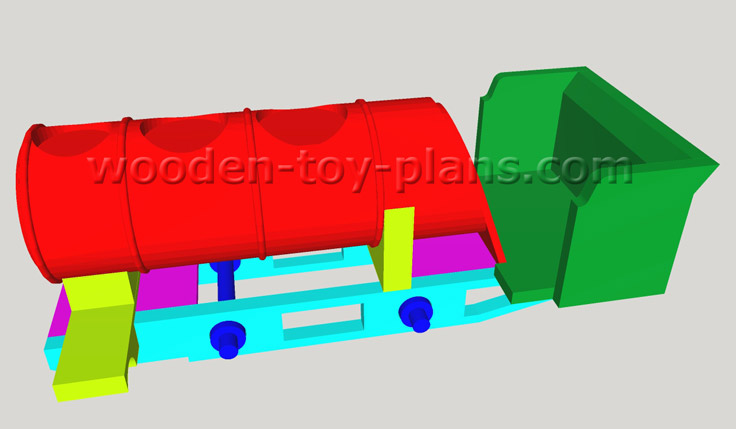
A cardboard tube is used for the boiler. Put a filler piece in each end and nail the back head to the rear filler. There are two firebox foundations, as indicated, cut to fit under the aft end on the boiler. The forward one is fastened with two screws, the after one with three screws that pass first through the rear cross brace. The front end of the boiler is tied to the foundation and the saddle with a machine screw.
Turn the steam dome, sand box and stack on the lathe and hollow the lower ends to fit the boiler. Cut the headlight from wood and the bracket from sheet metal. Make the boiler front in the lathe.
Running boards and solid wood water tanks are assembled next and held in place with two dowels, through the boiler and the firebox.
Construction Stages
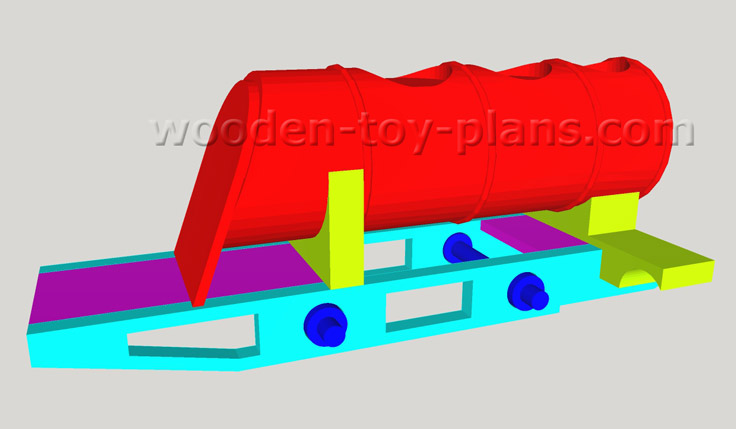 Stage 3 Add The Boiler
Stage 3
Add the Boiler.
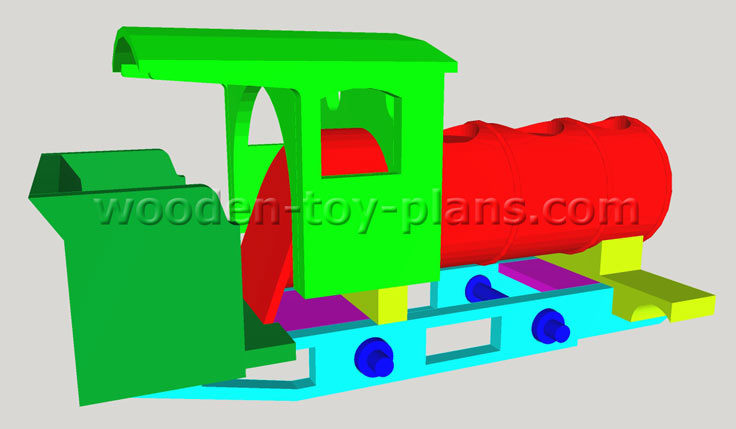
Stage 5
Cab.
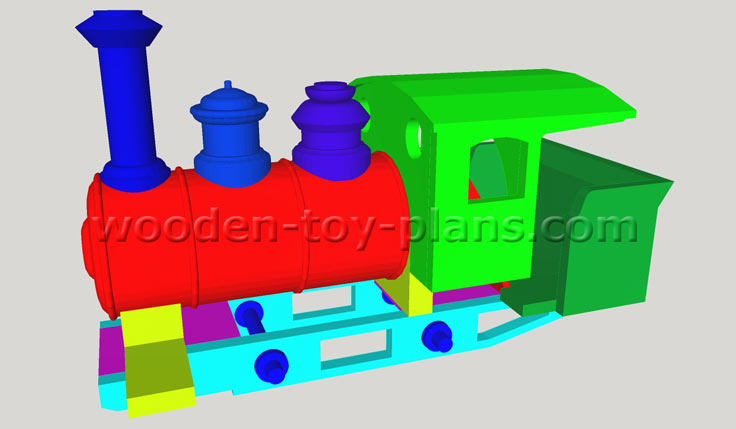
Stage 6
Chimney, steam dome and sand box.
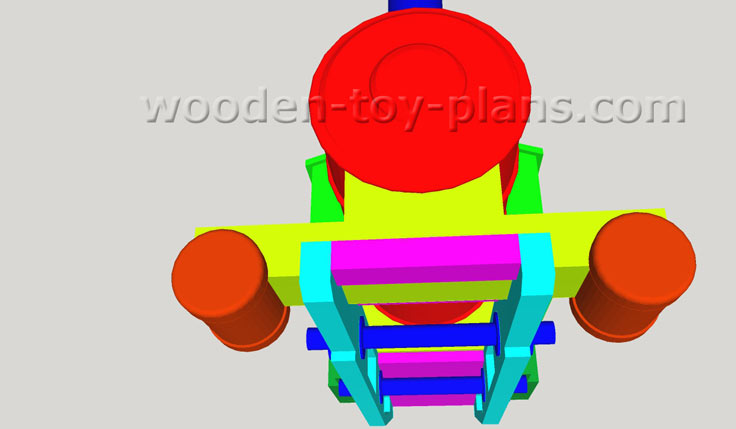
Stage 7
Add the pistons.
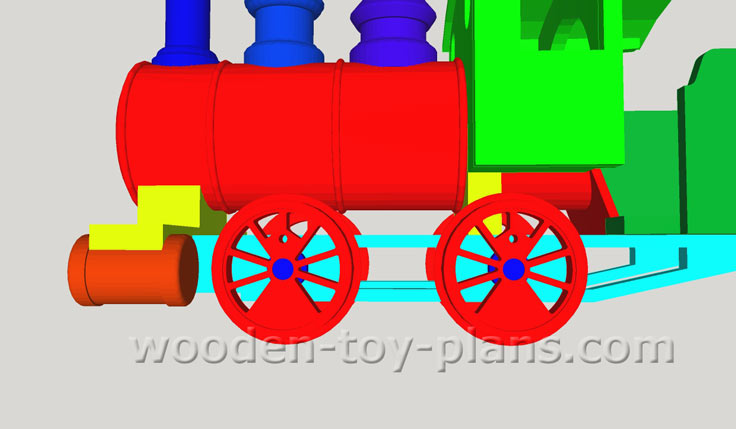
Stage 8
Add the wheels.
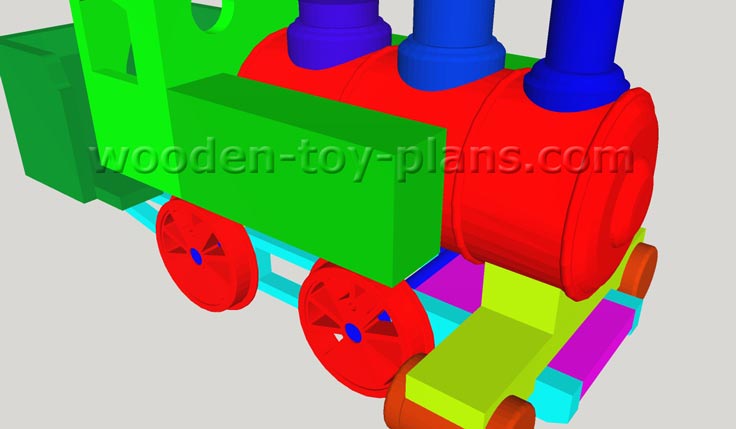
Stage 9
Add the water tanks.
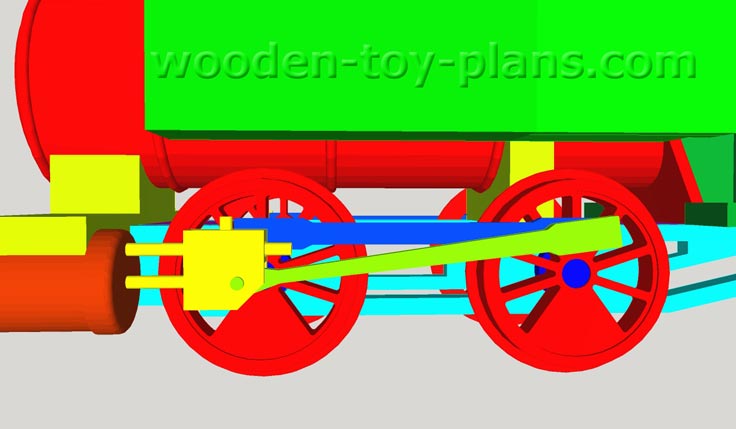
Stage 10.
The construction phase is complete, ready for painting. I often wonder if it is wise to paint certain parts before gluing them in place.
Download Wooden Toy Trains
More Toy Trains
Sponsored Link
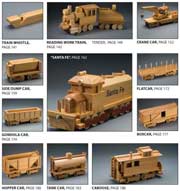
A few examples of the toy train designs available in the Great Book of Wooden Toys by Norm Marshall.
For the price of only $13.15 from Amazon you get more than 50 easy to build projects - including the toy train designs shown left.
Sponsored Link
How to make toy trains in wood, a book by Tim, Tom and Ginger Lynn.
Visit the woodworking projects gallery to view projects from people all around the world.
Free toy train plans from AOK Corral Craft and Gift Bazaar.
- Home
- Boys Toys
- Free Toy Train Woodworking Plans
- Wooden Toy Trains
